Configure HTTP logging in IIS
In a previous article I explained how to enable the HTTP logging for Azure web applications but what about IIS? Well, it’s generally enabled by default but we will however take a look at it in this article so you can get the most out of these logs.
Configuration
First you need to launch the IIS manager from the Windows Administration tools. Then in the IIS manager select the root of your web site and check that you see the Logging item.
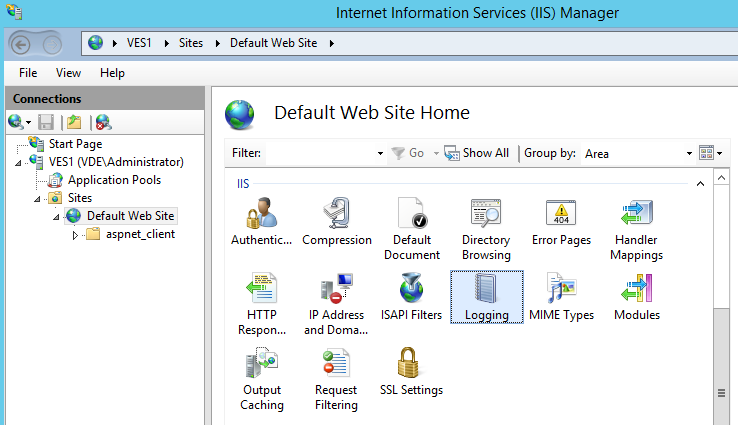
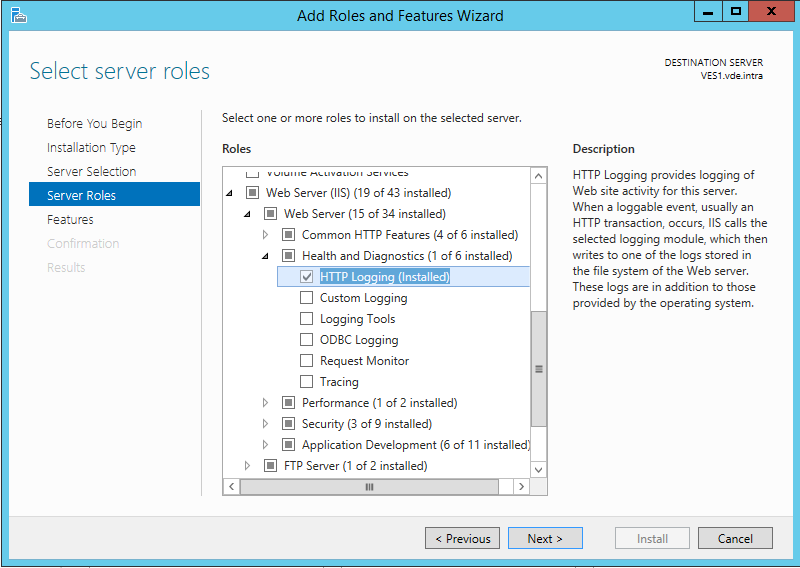
If you don’t see it, it probably means that the required Windows feature was not installed. So you need to install it with the Server manager. The name of the feature is HTTP Logging in the sub category Web server/Health and Diagnostics.
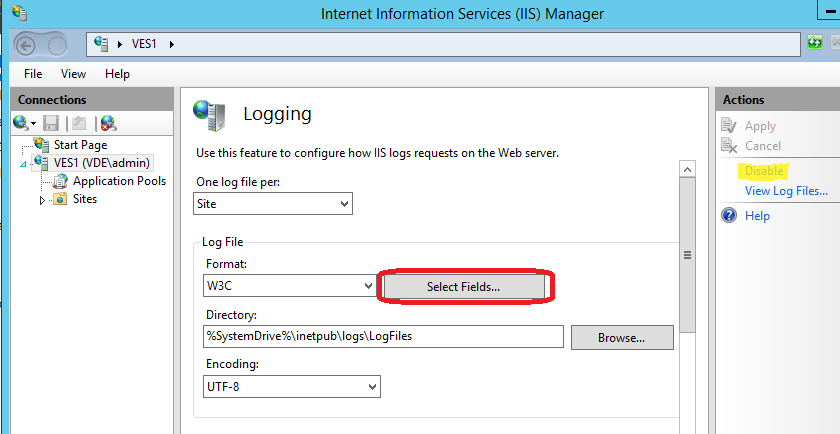
Once you entered the Logging section, verify that Disable appears in the Action panel, meaning that the logging is enabled. If Enable is displayed instead, you need to click on it to enable the logging.
Once this is OK you may also check that the setting is inherited in child web applications. Sometimes it is not.
Then you can check which fields are selected to be included in the log files by clicking on the Select fields button.
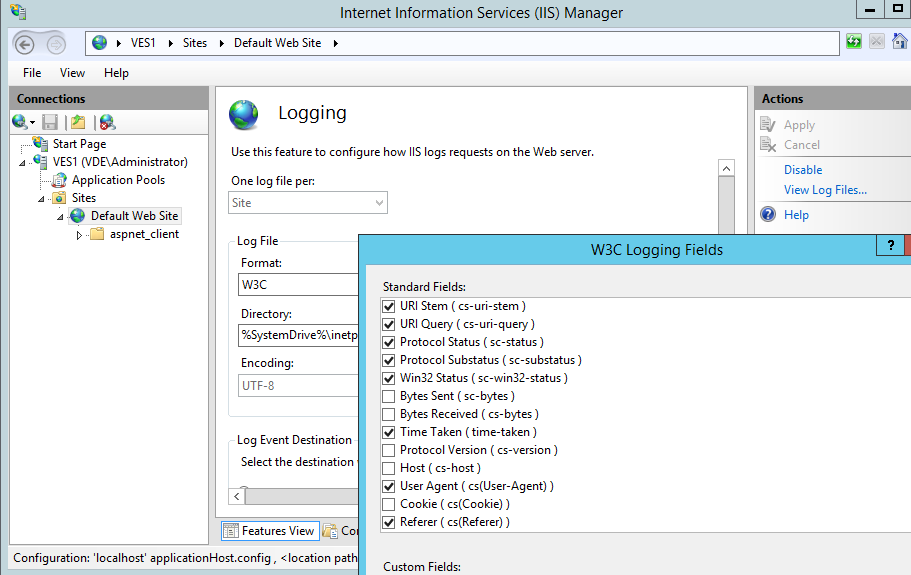
Most fields are selected by default but a few interesting fields may not be selected.
This is the case of the Cookie field. In this field you will see tracking numbers stored in cookies. For example you will see the ASP.NET session ID and the PHP session ID in this field. This will allow you to follow the web page access history from a single internet user even if several users are behind the same IP address.
The Referer field is very important and is only selected by default since Windows 2012 so make sure it is also selected if you want to know from where come your visitors.
The fields Bytes Sent and Bytes Received fields may also be interesting to determine which URLs of your web site consume much bandwidth.
The Host field is less important as you will have in most cases systematically the same host but it allows to construct the full accessed URL (“http//” +Host + URI Stem + URI query).
In any cases let all fields which are selected by default selected. They are essential to any analysis. You will find a description of all these fields in the article Select W3C Fields to Log of the Microsoft TechNet.
So we covered standard HTTP logging fields but since IIS 8.5 (Windows 2012 R2) there is also the ability to add custom fields. Most of the proposed custom fields are in generally not interesting because too advanced but let’s try to add an interesting one.
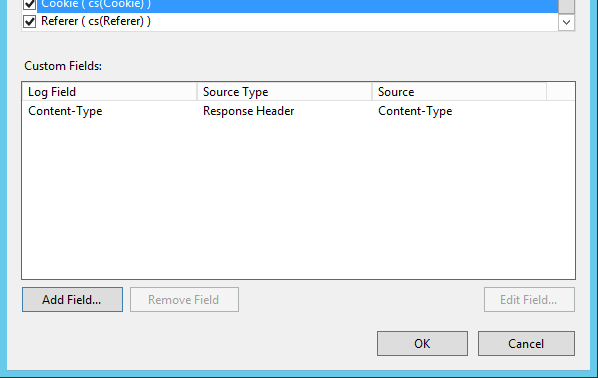
We click on the Add Field button below the custom fields list.

In the Add Custom Field dialog we can browse all proposed fields by changing the Source type and by taking a look at the proposed sources. With Response Header as source type we have a source named Content-Type. We can suppose that this is the MIME type of the content send back to the web browser. This could be interesting if we need to ignore in the logs all requests to a specific kind of content. So let’s add it. We specify Content-Type as field name and we click OK.
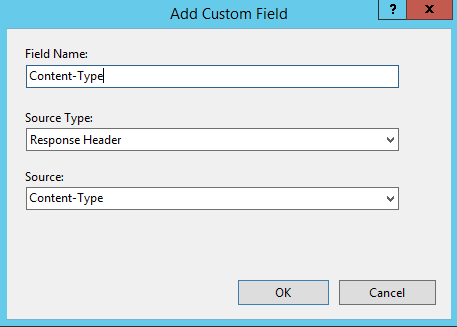
Our new custom field then appears in the list and we can click OK to apply our new field selection.
If you go down in the Logging section you will see that there is a section named Log file Rollover.
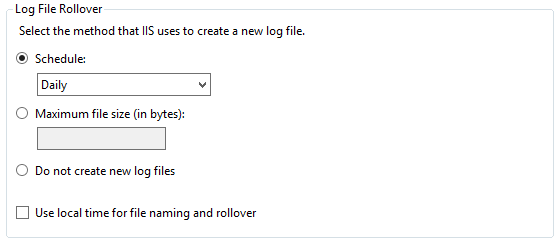
By default IIS stores the logs in a new file every day. I recommend keeping this default setting. The only exception I see is that the latest log file currently being written may not be retrievable remotely through ftp (We’ll cover this in a next article) because the file is opened by IIS. So if you need to get the data sooner than waiting the next day you can switch the schedule to Hourly.
OK, now that we looked at the most interesting logging settings in IIS you can click Apply in the Actions panel to save all changes.
Accessing the logs
Now that the logging is configured you can try to take a look at the log files after making sure you had some activity on the web site since the logging was enabled. In the Actions panel of the Logging configuration section you can click on View log files…
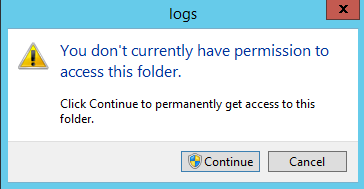
Well after doing that you may get the following error:
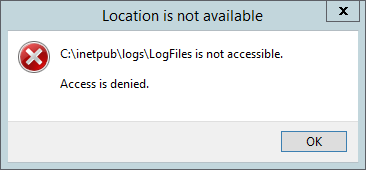
This is because by default only Administrators are allowed to access the IIS log folder and as with the UAC (User Account Control) you are really administrator only once the privilege elevation occurs you get this error. To work around that, you can go to the folder with the Windows Explorer and change the permissions.
The short way would be to just try to enter in the folder c:\intetpub\logs with the Windows Explorer and when you get the following message click Continue.
Then you need to repeat the operation on the child folder containing the log files c:\intetpub\logs\LogFiles\W3SVC1 because permissions are not inherited.
By doing that your account would automatically get read and write permissions on the log folder. If for security reasons you don’t want to have write permissions because you only need to read the logs, you can apply the following procedure:
- Right click on the c:\intetpub\logs folder
- Select the Security tab
- Click Advanced
- And then click the Continue button to trigger the privilege elevation
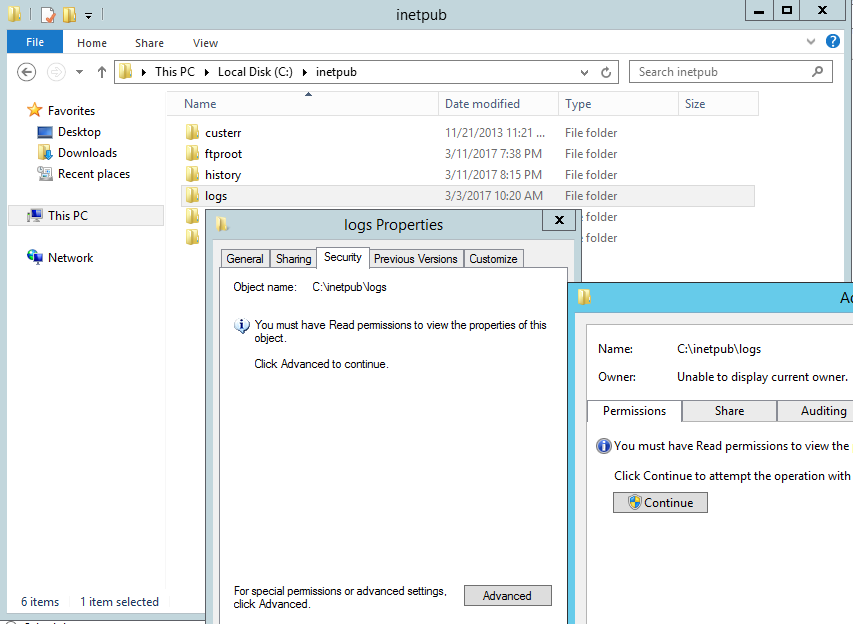
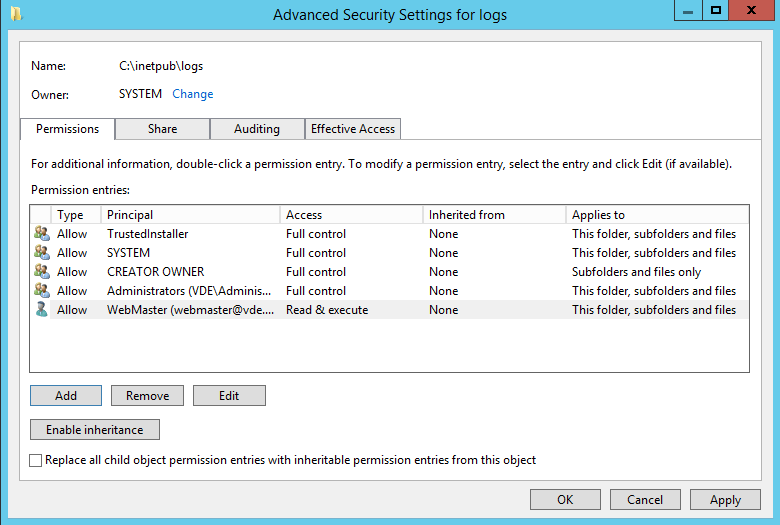
You see then the permissions on the logs folder and you are allowed to change them. Click on the Add button to add an entry for your own account or a group your account is member of.

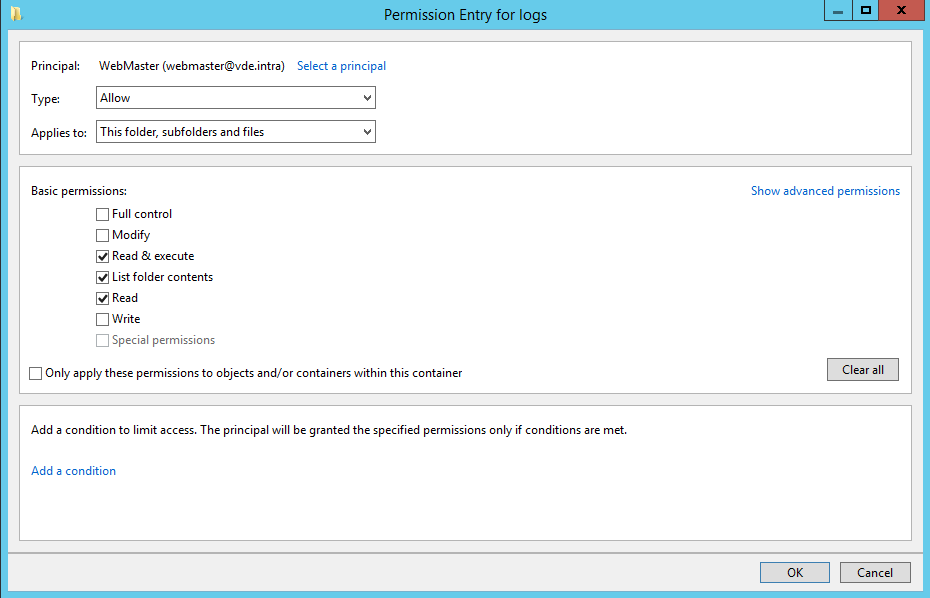
In the permission entry keep only read permissions selected and click OK to add the entry to the list.
Then you can apply the permissions. But if you do that, you will see that you need to apply again the same procedure on the web site log sub folder (C:\inetpub\logs\LogFiles\WC3SVC1) because permissions are not inherited. To avoid that you can optionally select “Replace all child permissions…” before applying the permissions.
Independently of the method used to change the permissions you can now access the folder where the log files are located without privilege elevation needed and this is what you see in the log folder.
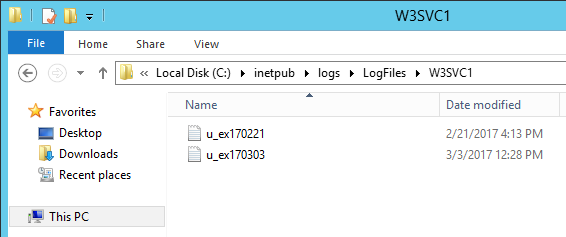
And if you open one of the log files, this is how the content looks like:
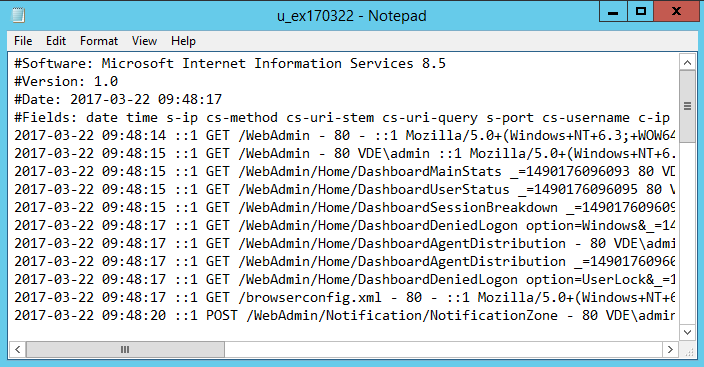
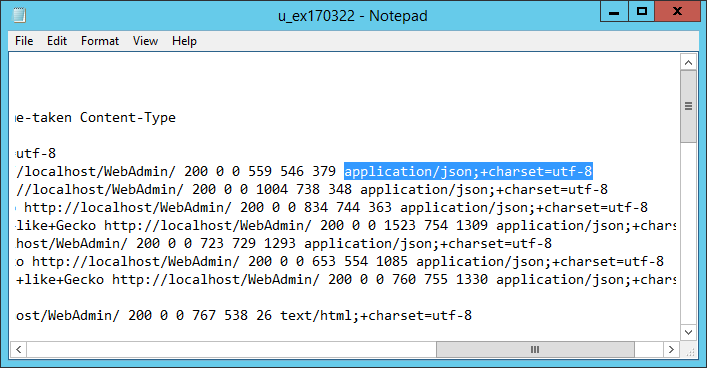
And if we scroll to the right we see our custom Content-Type field with the MIME type as expected.
OK!
Now that we know how to enable and configure the http logging in IIS and that we can access these logs locally on the web server we will see in a next article how it’s possible to share these logs in order to retrieve them remotely.